
Wood fences are beautiful, at least until they start to age and lose their attractive appearance.
For some, fencing restoration to service the fence and improve its appearance is possible, as long as it is still in relatively good condition.
Using the easy process outlined below, professional fencing services can assess the condition of any wood fence and then get it looking beautiful once again!
Are Any Fence Repairs Required?
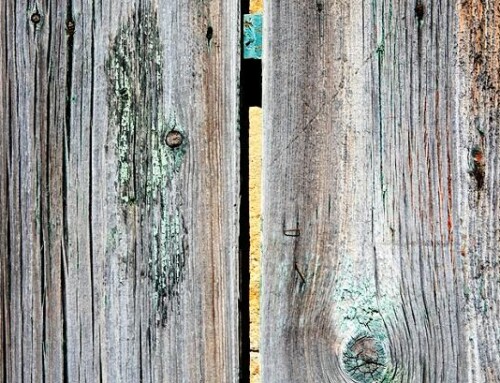
Before considering any type of fencing restoration, it is important to first do a close inspection of the fence to assess its condition.
Check every post to confirm that it is still sound and tight in the ground and then check each panel or rail along the fence line.
Tighten loose boards or rails and make any necessary fence repairs now, as the structural integrity of the fence is essential to its overall appearance.
If the fence is in need of major repairs due to sagging, warping, broken posts as well as rotting or other serious conditions, it may be more cost-effective to hire a fencing service to replace it at this time, rather than investing more in fencing that will not last much longer.
Pay particular attention to straightening and leveling gates that may be sagging as well.
What Fencing Restoration Techniques Can Improve An Old Fence?
After a thorough inspection and minor repairs being made, fencing restoration can begin using an easy 4-step process:
1. Clean It
Begin a fence restoration project by washing the wood to remove dirt, grime, and mold using either a pressure washer on a lower setting or a stiff scrub brush.
This can be done with straight water if the fence is not especially dirty, with a mild dish detergent in water, or a solution of 75% water with 25% bleach.
If there is stubborn grime or organic growth on the wood, use a preparation made for fence washing.
Wash thoroughly, being careful not to score the wood with the pressure washer, and then rinse it all off with clear water to remove all soap and cleaning chemicals.
2. Dry It
After the fence has been thoroughly washed, allow it to dry fully before the next step of the restoration process.
Depending on the temperature and humidity, this may take as little as a few hours to as long as a whole day.
3. Sand It
Once the wood is completely dry, give it a light sanding to remove splinters and roughness if the plan is to stain or paint it. Use a medium-grit sandpaper and a power sander to get it done faster, as this is the most time-consuming part of the process.
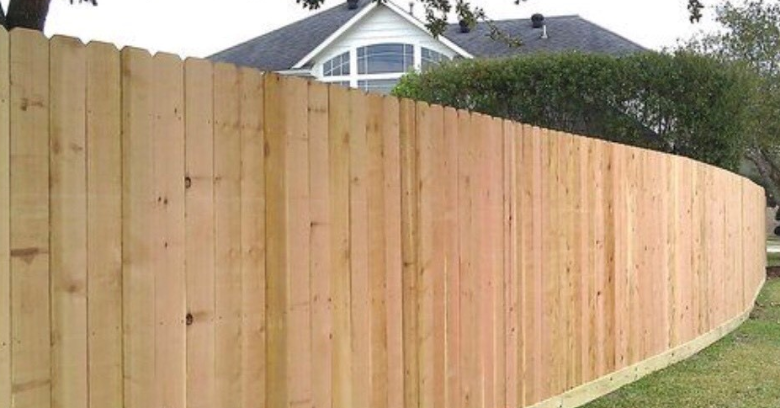
It is a worthwhile step for restoring fences that have turned gray, as it will bring out more of the natural wood color after a good cleaning.
4. Refinish It
Finally, after all fence repairs have been made, the fence is clean and has been prepared with a light sanding, refinish it to complete the restoration.
To retain the natural look of the wood, simply apply a wood sealant to protect it and slow additional sun bleaching.
Other options are to use a wood sealant and stain to add some color or paint the fence.
Stain and sealer products make the best refinishing choices, as they provide some color while being easier to apply than paint.
Tinted stain sealants also don’t flake off after some time as paint does.
Hire A Fencing Contractor For Fencing Restoration
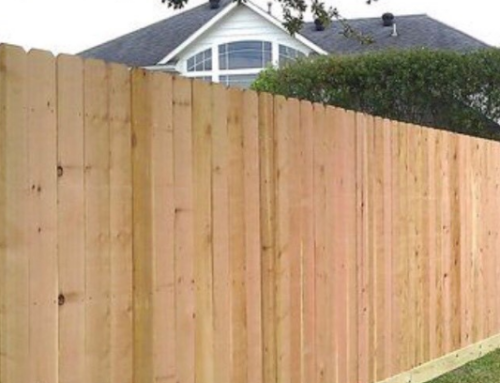
A clean, new-looking wood fence can improve the look of any home property.
When fences start to look old and dull, easy fencing restoration can turn back time and make them look beautiful again.
Restore any fence in just a few simple steps or hire a fencing restoration service to get it done faster and easier!